
Building a Sensory-Smart School: Strategic Implementation Guide
Creating a sensory-supportive school environment isn’t just about purchasing equipment—it’s about strategic planning that maximizes impact while respecting budget constraints. Whether you’re a principal, curriculum director, or preschool administrator, this guide will help you implement sensory paths, door mats, and wall graphics in ways that truly transform your learning environment.
Why Strategic Placement Matters
Research published in the Journal of School Health demonstrates that regular movement breaks improve on-task behavior by up to 8%, with effects lasting 40 minutes after activity. But here’s the key: these benefits only occur when sensory tools are accessible and integrated into daily routines. A sensory path tucked in a forgotten corner serves no one.
Strategic placement ensures every student has multiple opportunities throughout the day to regulate, refocus, and reset—without disrupting instruction or requiring elaborate scheduling. Learn more about the power of sensory integration and how it impacts learning.
Placement Strategies That Work
Sensory Paths: High-Traffic Hallways
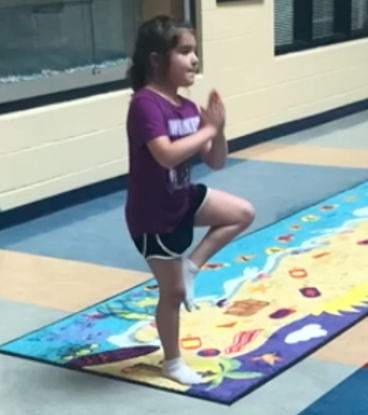
Install sensory paths in locations where students naturally pass multiple times daily:
- Main hallways connecting classrooms to common areas (cafeteria, gym, library)
- Between grade-level wings where teachers can easily incorporate breaks
- Near bathroom areas for quick regulation opportunities
Pro tip: Consider installing 2-3 paths throughout your building so no classroom is more than a 30-second walk away. One elementary principal reported usage increased by 400% when they added a second path near the upper elementary wing, eliminating the excuse that “it’s too far to walk.”
Avoid placing paths in low-traffic areas or dead-end hallways where only one or two classes have access. The goal is schoolwide integration, not isolated usage.
Sensory Door Mats: Strategic Transition Points
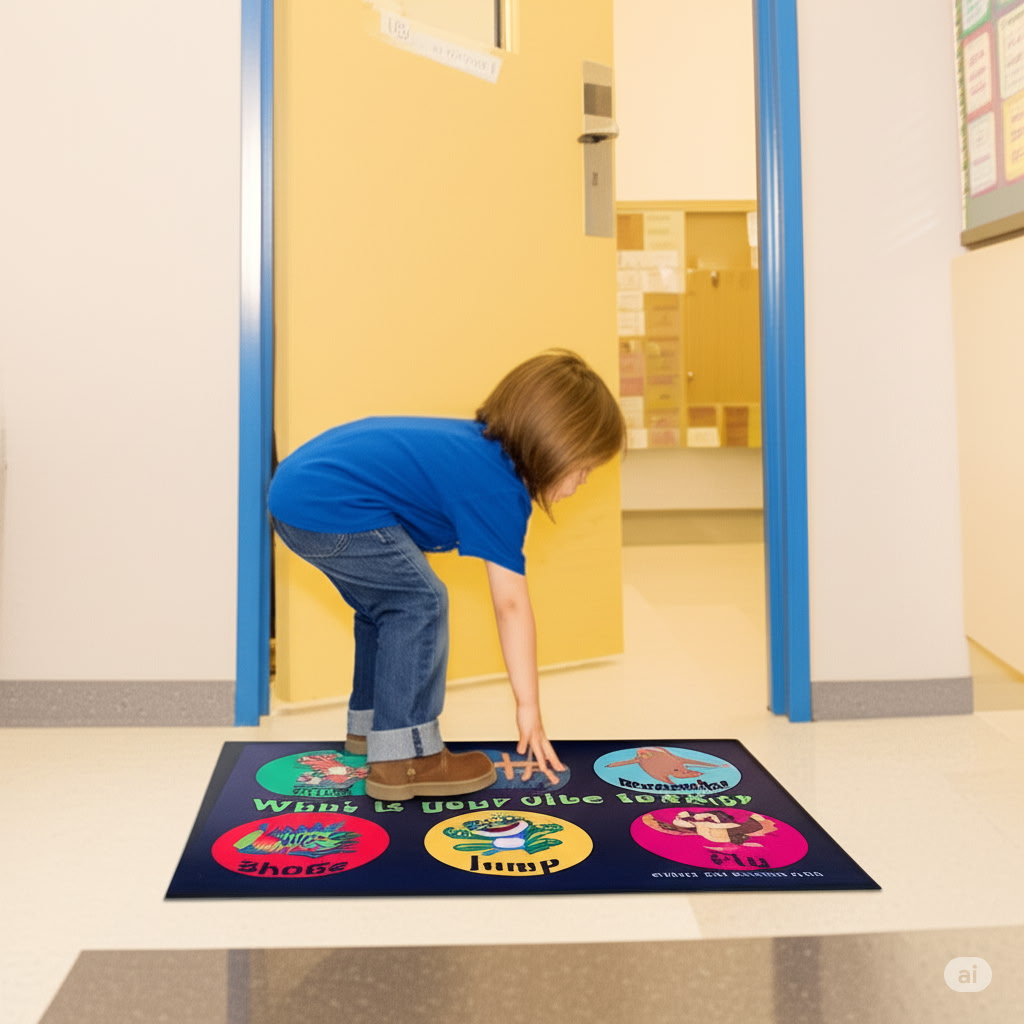
Door mats create powerful micro-moments of regulation. Place them at:
- Every classroom entrance: Students receive sensory input right before entering learning mode
- Bathroom entrances and exits: Helps students reset before returning to instruction
- Specials entrances (music, art, PE, library): Teachers report significantly calmer class starts
- Office and counselor waiting areas: Anxious students can self-regulate while waiting
- Main building entrances: Sets a positive, regulated tone for morning arrivals
The beauty of sensory door mats is their affordability and flexibility. Start with 5-10 high-impact locations and expand based on teacher feedback. A second-grade teacher shared: “We placed a mat outside our bathroom. My high-energy students naturally use it coming back to class, and I’ve noticed they’re so much more ready to work.”
Sensory Wall Graphics: Calm and Waiting Spaces
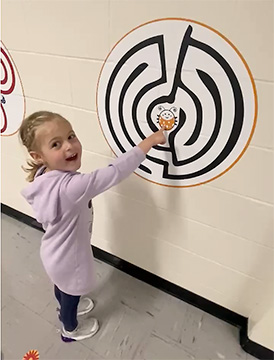
Wall graphics serve students who need discrete, calming regulation. Maximize impact by installing in:
- Waiting areas: Office, nurse, counselor, testing rooms where anxious students congregate
- Classroom calm corners: Provides a quiet regulation option without leaving the room
- Hallway collaboration spaces: Where small groups naturally gather
- Near water fountains: Turning natural gathering spots into brief sensory opportunities
- Alcoves and dead-end spaces: Converting “wasted” architectural features into sensory stations
Wall graphics are particularly valuable in schools with limited hallway space for floor-based paths. According to occupational therapy research, visual-tactile engagement helps regulate the nervous system, making wall graphics powerful tools for anxious or overwhelmed students.
The Phased Implementation Approach
Budget constraints are real. Here’s a practical three-year rollout that builds momentum and demonstrates value:
Year 1: Foundation Phase
Investment focus: Create visible impact in high-traffic areas
- Install 1-2 sensory paths in main hallways
- Place door mats at 5-10 strategic locations (prioritize classroom entrances and bathrooms)
- Add wall graphics in 2-3 key waiting areas (office, counselor, main entrance)
Goal: Establish proof of concept and gather initial data on usage and impact
Year 2: Expansion Phase
Investment focus: Fill accessibility gaps based on Year 1 feedback
- Add paths near grade-level clusters lacking easy access
- Expand door mat coverage to all classrooms and specials entrances
- Install wall graphics in calm corners and collaboration spaces
Goal: Achieve schoolwide coverage so every student has regular access
Year 3: Optimization Phase
Investment focus: Fine-tune based on observed usage patterns
- Address specific needs identified by teachers and specialists
- Create complete “sensory circuits” combining paths, mats, and graphics
- Add specialized installations (testing rooms, therapy spaces, behavior support areas)
Goal: A fully integrated sensory ecosystem serving diverse student needs
One principal implementing this approach reported: “Year 1, teachers were skeptical. Year 2, they were requesting more. Year 3, our sensory tools became non-negotiable infrastructure—like whiteboards or computers.”
Training and Buy-In: The Secret to Success
Even the best-placed sensory tools fail without educator understanding and commitment. Successful implementations include:
Professional Development: Provide training on sensory processing basics and how movement impacts learning. Share research from sources like Understood.org on sensory needs and self-regulation strategies, or explore our guide on the power of sensory integration.
Teacher Autonomy: Allow flexibility in how teachers use tools with their specific classes. A kindergarten teacher’s approach will differ drastically from a fifth-grade teacher’s—and that’s perfect.
Data Collection: Track measurable outcomes like office referrals, nurse visits, on-task behavior observations, and teacher satisfaction surveys. One school documented a 35% reduction in behavior referrals and 28% decrease in stress-related nurse visits after installing comprehensive sensory supports.
Celebrate Successes: Share wins in staff meetings, newsletters, and with your school board. When teachers see colleagues having success, adoption accelerates naturally.
Adapting for Different Settings
Elementary Schools: Focus on high-frequency usage with multiple daily touchpoints across all grade levels. Combine sensory paths, door mats, and wall graphics for comprehensive support.
Preschools and Pre-K: Emphasize exploratory, play-based engagement with sensory tools. Young learners benefit from frequent, short sessions with simple movements.
Therapy Centers: Create dedicated sensory circuits where occupational therapists can incorporate tools into treatment plans. Wall graphics and paths become therapeutic equipment.
Special Education Settings: Combine all three tools to create comprehensive sensory rooms or regulation spaces students can access throughout the day.
Measuring Success
How do you know your investment is working? Look for:
- Decreased behavior referrals and office visits
- Reduced stress-related nurse visits (stomach aches, headaches)
- Improved on-task behavior during observations
- Higher teacher satisfaction with classroom management
- Student self-advocacy (“I need a movement break”)
- Positive parent feedback about self-regulation improvements
Remember: sensory tools aren’t a silver bullet, but when strategically implemented, they become essential infrastructure supporting every student’s ability to learn, regulate, and thrive.
Ready to Get Started?
The most successful sensory-smart schools start with a clear vision, strategic placement, and commitment to proper implementation. Your students’ brains and bodies are designed for movement—when you build environments that honor this design, everyone benefits.
Visit 321 Sensory Paths to explore product options and learn more about how sensory integration transforms learning environments. Transform your school from reactive behavior management to proactive sensory support—one path, mat, and graphic at a time.